The Next Generation Lighting Controller
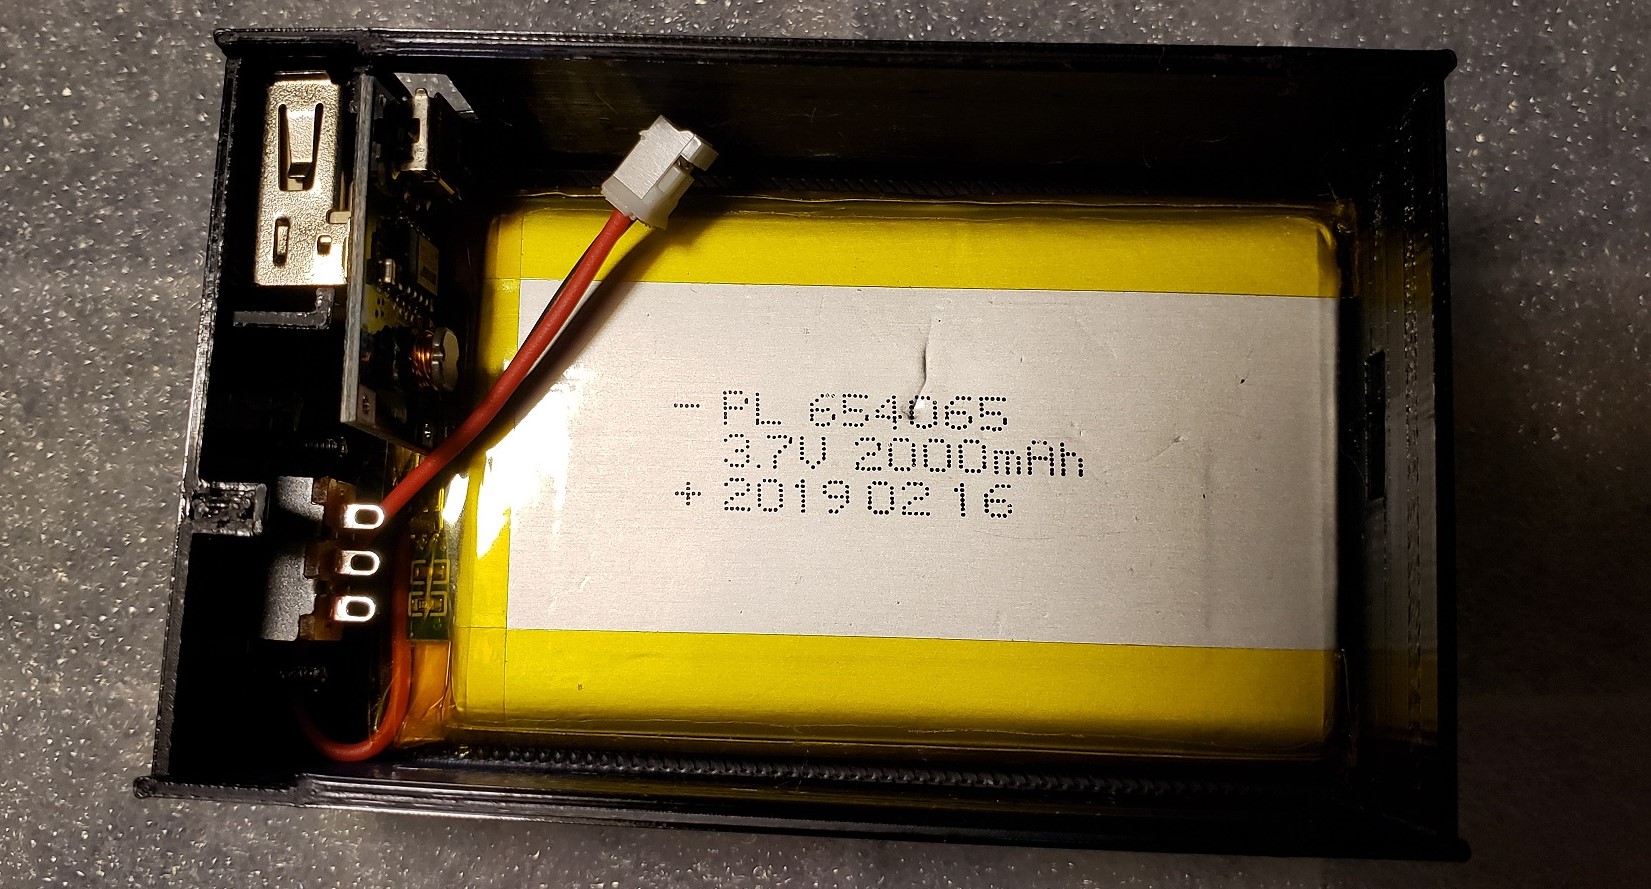
We acquired more Bachmann ten wheelers and passenger cars since our humble beginning. We enjoyed having the new lights in the passenger cars, but there were limitations we needed to address. No longer powered by a 9V battery, we also enjoyed the twelve hour lifetime between charges the 2000mAh LiPo battery affords us. And while the 5050 LED strips were still much brighter, even with their limitations, it's pretty much all on with the same color or all off. No in between...
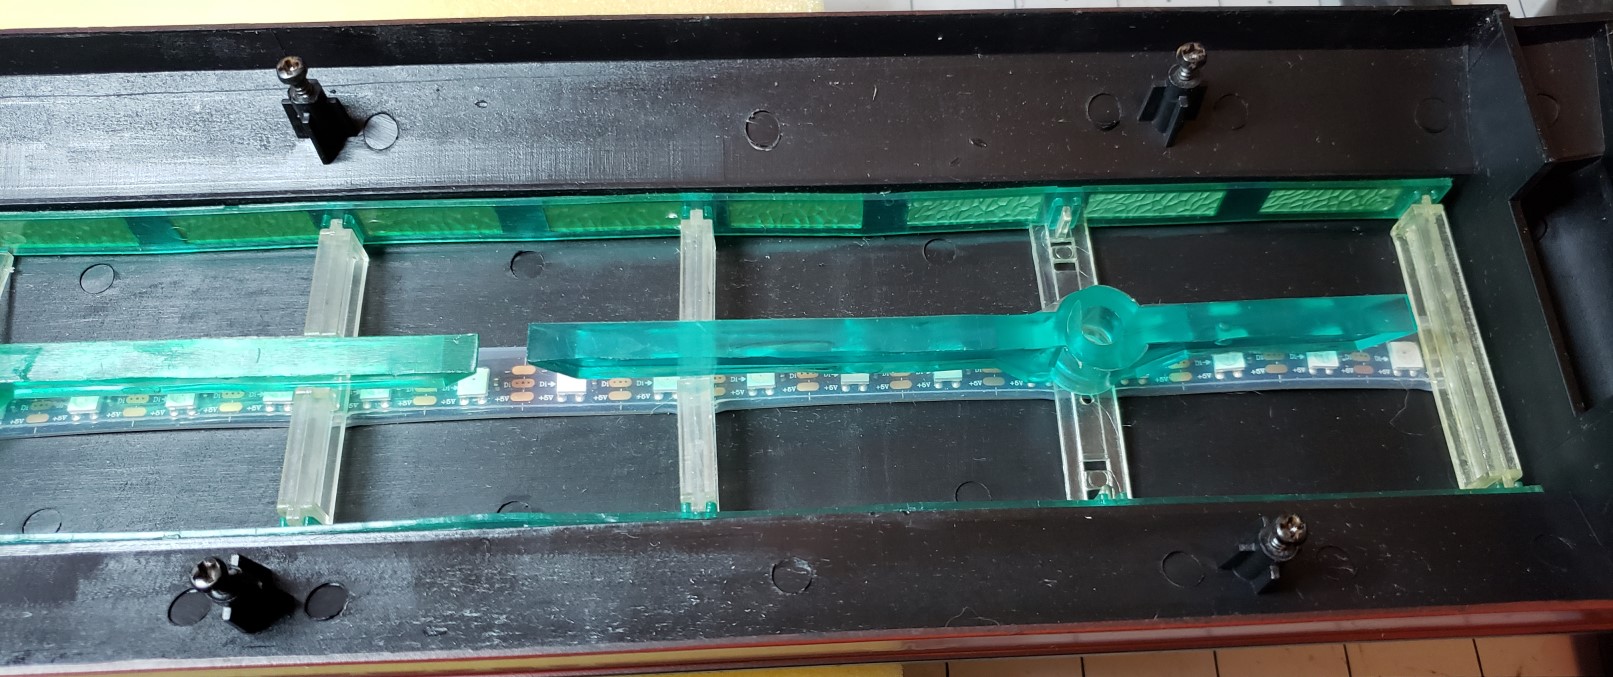
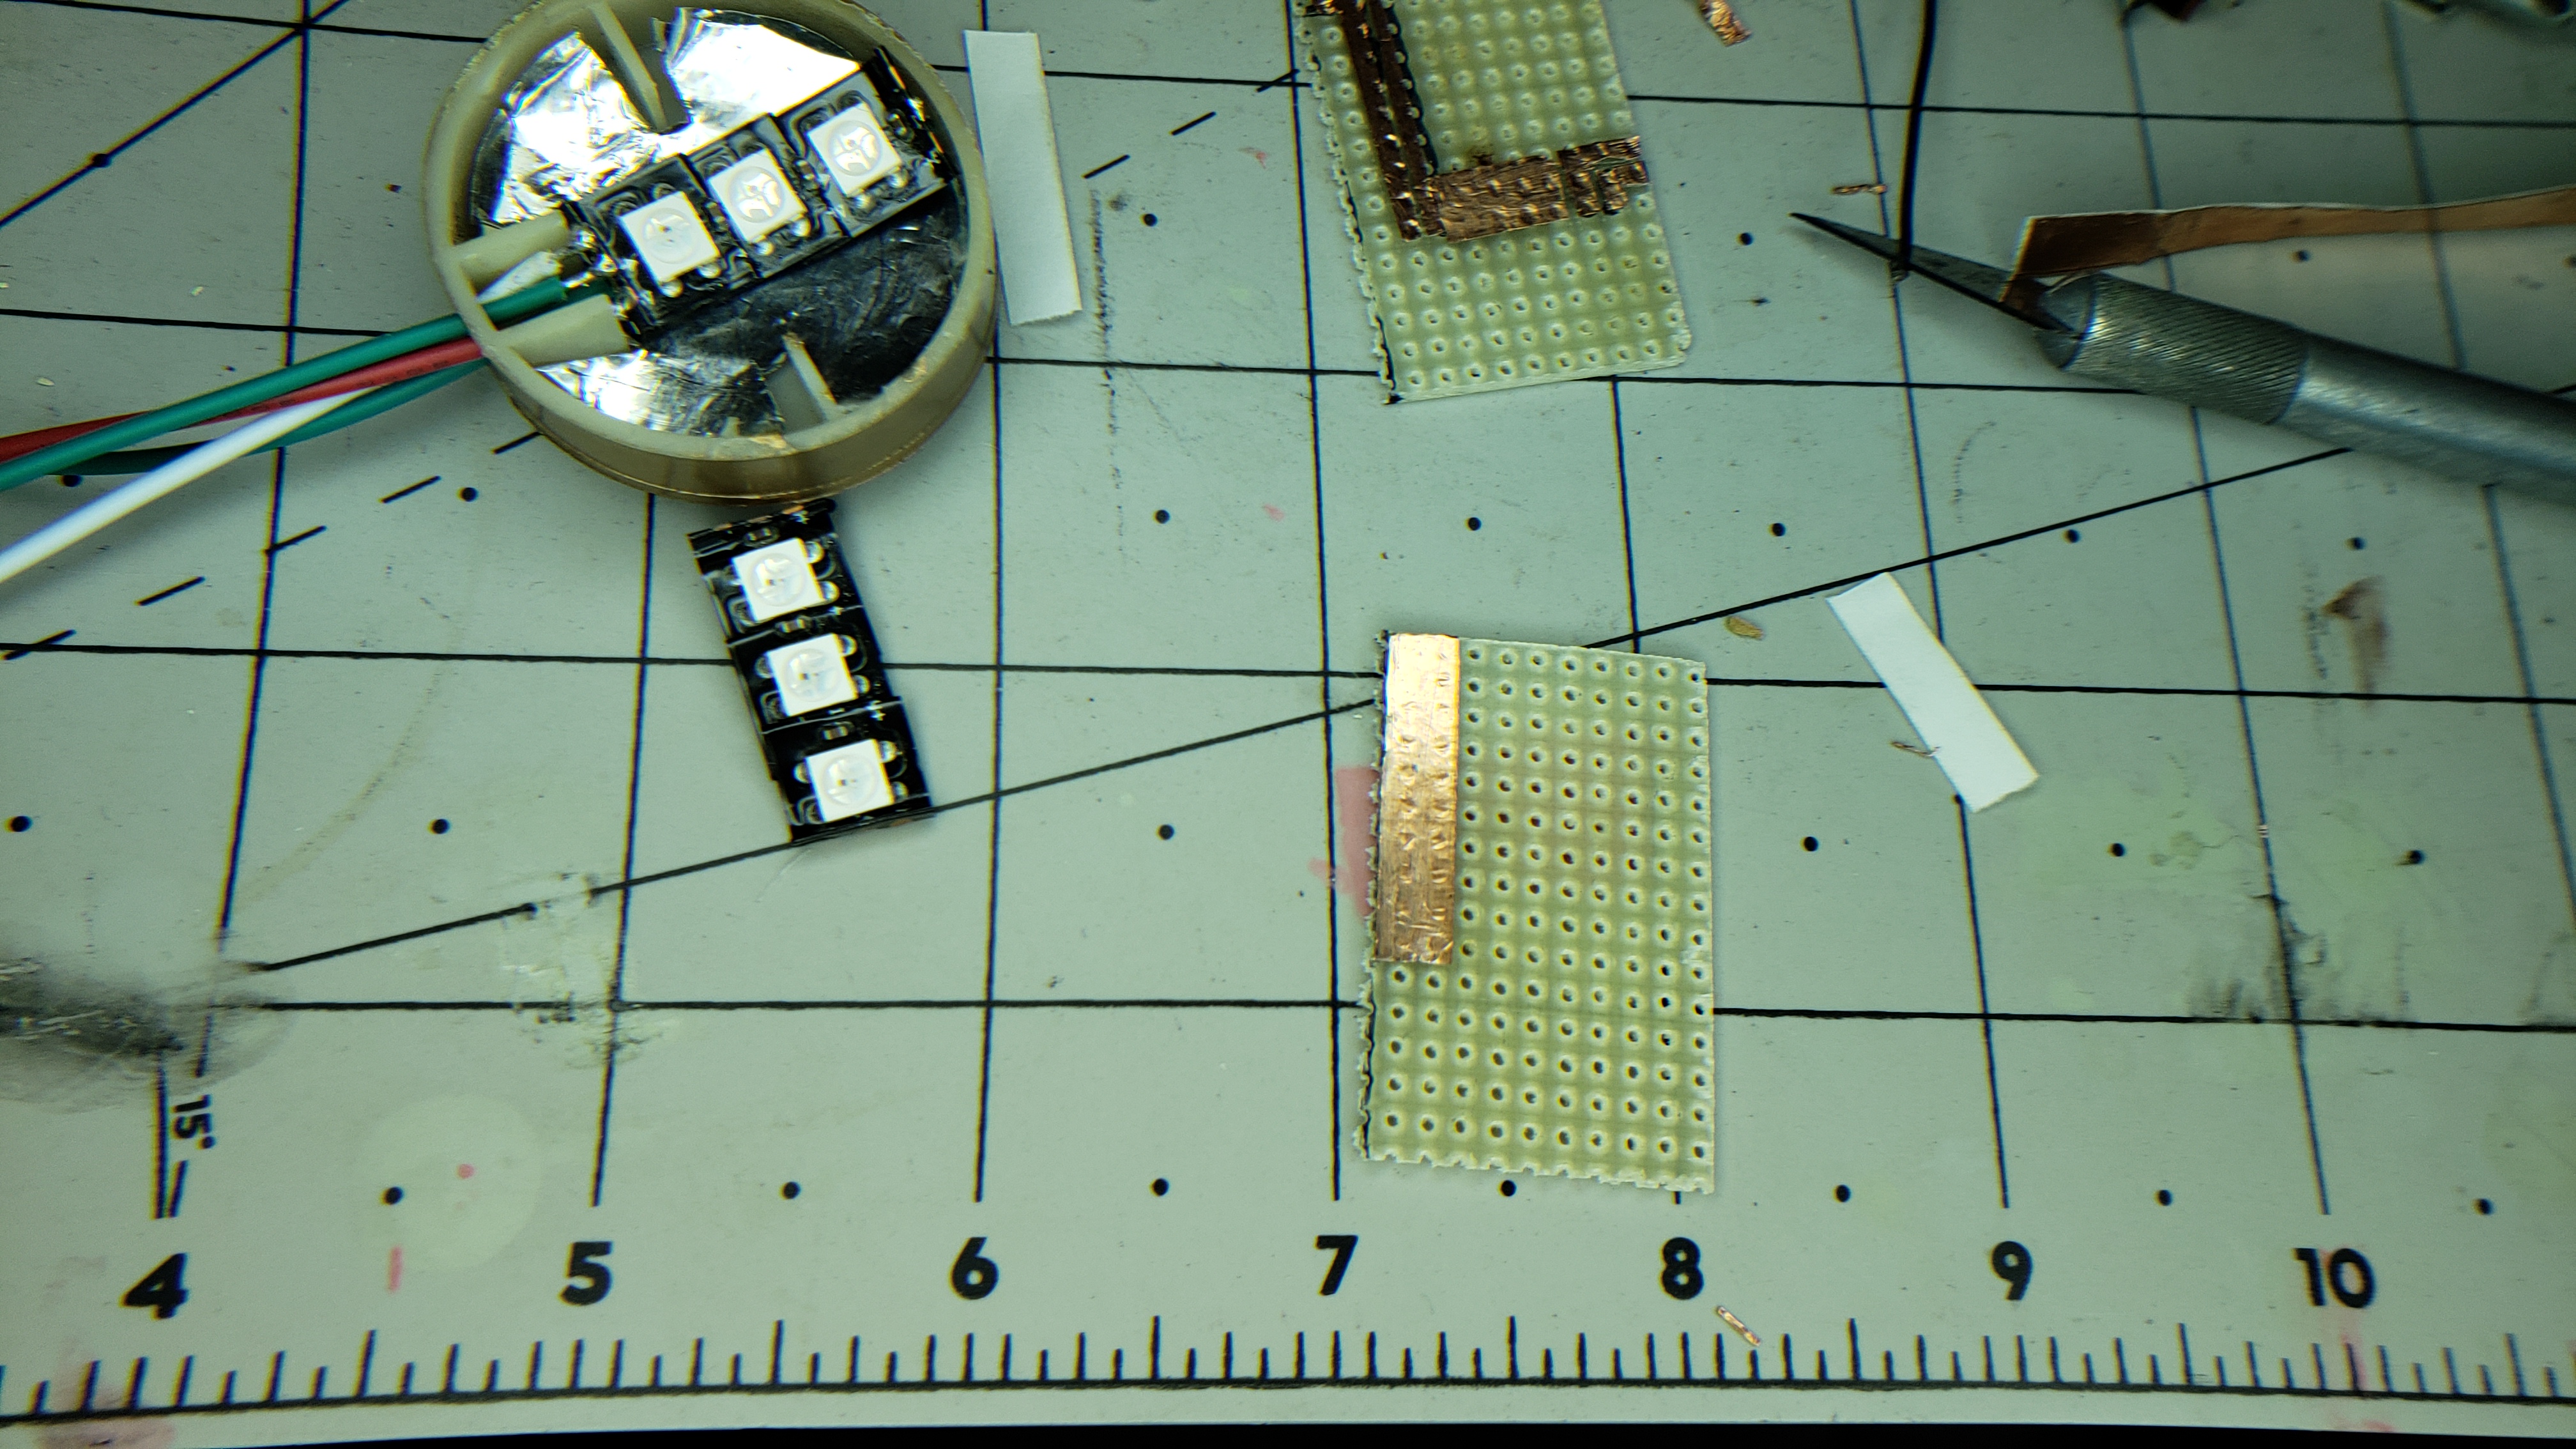
We found the 2812 individually addressable LED strips would remedy these issues and more, including a reduction of parts needed. What's the difference between the two? Control and how the LEDs are arranged. The RGB 5050 LED strips "stack" three RGB 5050 LEDs in series, which is why they need 12V to operate. The 2812 strips actually control each of the RGB 5050 LEDs independently. So effectively all the LEDs are in parallel, and only require 5V, 2812 referring to the actual control chip itself.
The 2812 handles all the PWM for us. We command each 2812 control chip using serial communications. Each "segment" is connected to the previous in daisy chain fashion. The first 2812 looks for its instructions, then passes on the remaining to the next in the chain. So that's another difference between the two types of LED strips. Those RGB 5050 strips require a Pulse Width Modulation (PWM) signal for each of the colors, and share a common 12V supply, for a total of four wires. The 2812 strips require a 5V supply and return along with the serial communications line, for a total of only three wires.
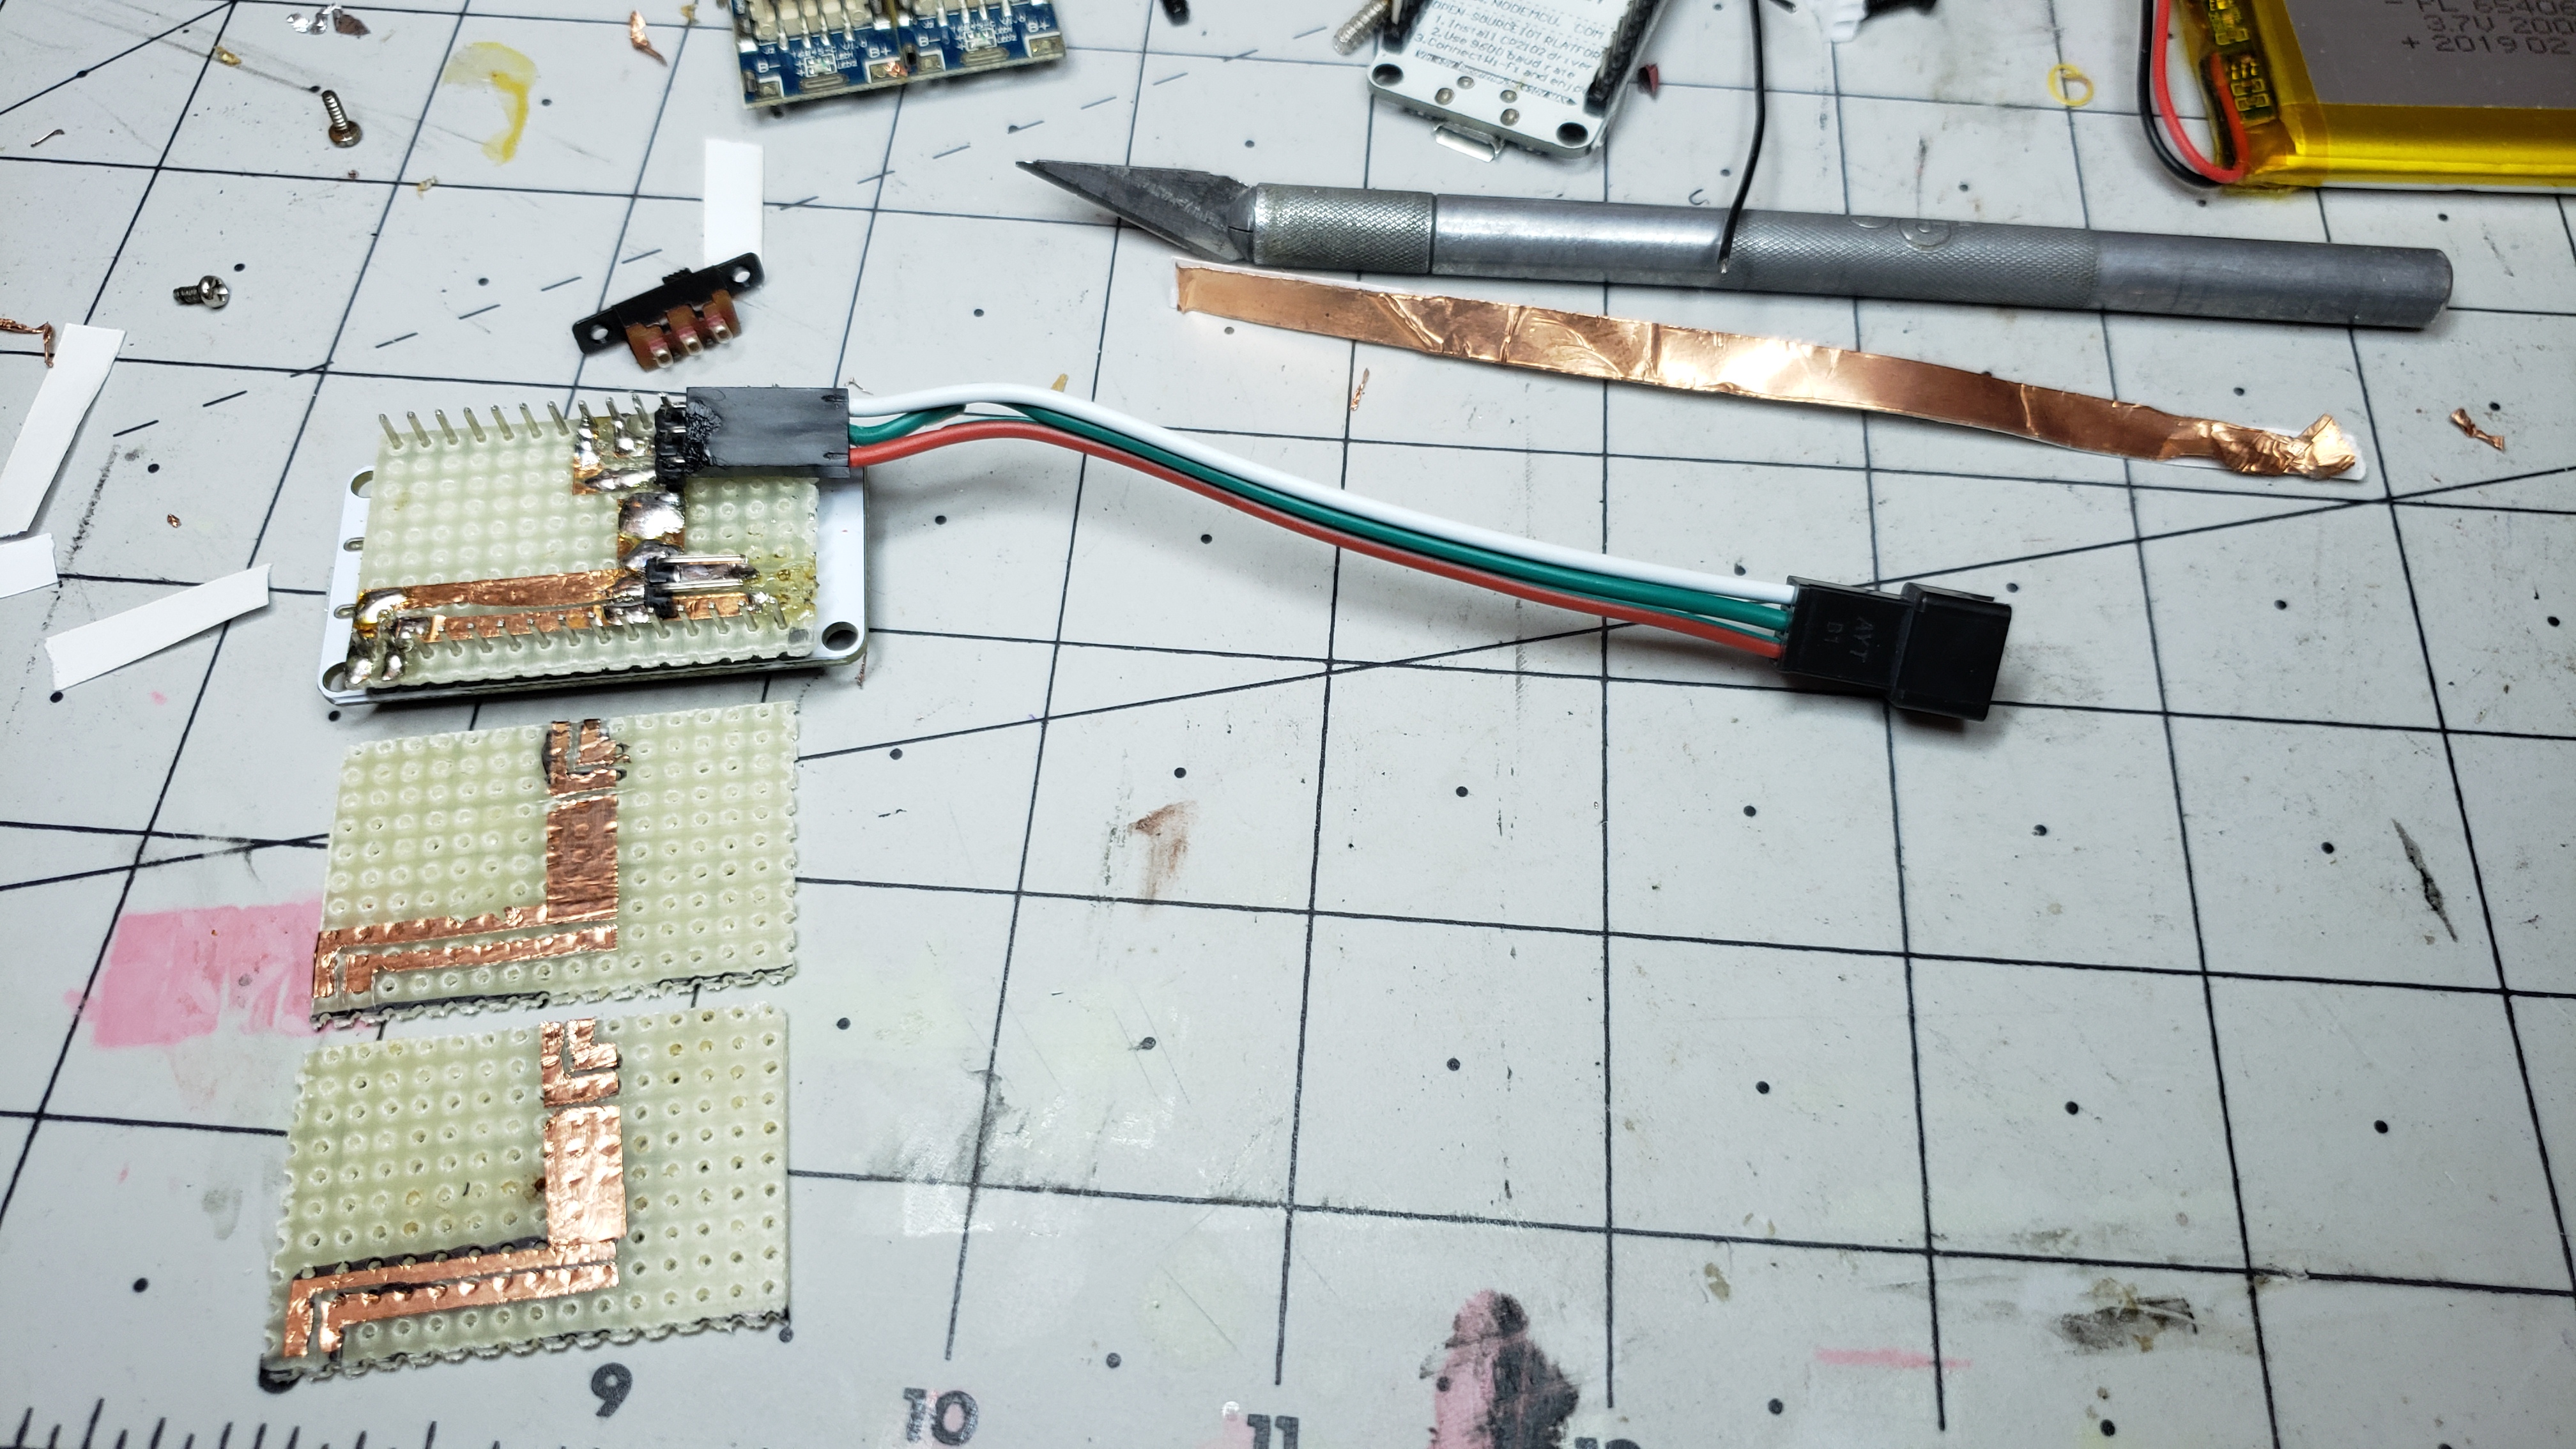
Because we no longer need to drive the PWM signals for each color, we no longer need a driver module to handle all that current. And we no longer need the boost converter to supply 12V because the 2812 strips operate on just 5V. The electronics already fit in the battery box, so all we need to do is redesign the battery box to stay put and stay together. The following photos represent an intermediate step between the old style battery box fitted with the newer electronics to control the 2812 strips.
The LED strips weren't the only things that changed. The software to control them also had to change. We added to the ability to control each individual "pixel" to the user interface. It sounds simple, but each command returns a response, and it's that response that keeps the user interface up to date and in sync with the controller. Those commands and responses are managed by javascript. The user interface itself is written in HTML, and relies on CSS for styling and other benefits.
The original interface was a just a set of range sliders for each of the three colors and a power button. That much remains, but in addition, a second set of sliders control each pixel's levels independently. Those controls are hidden until selecting a pixel to modify. We decided to add "scrolling" to the mix, like a marquee, or chase lights as some call them. They can scroll either left or right.
We added those same rudimentary effects for color fade and jump that the station lighting kit provided to our controller. We already had the custom color capability. Blink and flash effects were easy enough to throw in as well. All in a short amount of time. It took a little longer to get all the pixels to show what color they were on the user interface, and scroll, but we later abandoned the idea of synchronizing to that level of detail.
We did retain all the other synchronization features though. There's nothing more discouraging than refreshing the page only to lose all those settings and then have to add them all again, repeatly. The controller still remembers where it left off, but if a page refresh didn't restore all the settings, the user would think everything was reset. The only difficulty was trying to restore those per pixel values when scrolling was turned on. Short of sending the state of every pixel for every shift, there's no easy way to keep the two in sync. Hence the reason we adandoned similating scrolling on the user interface.
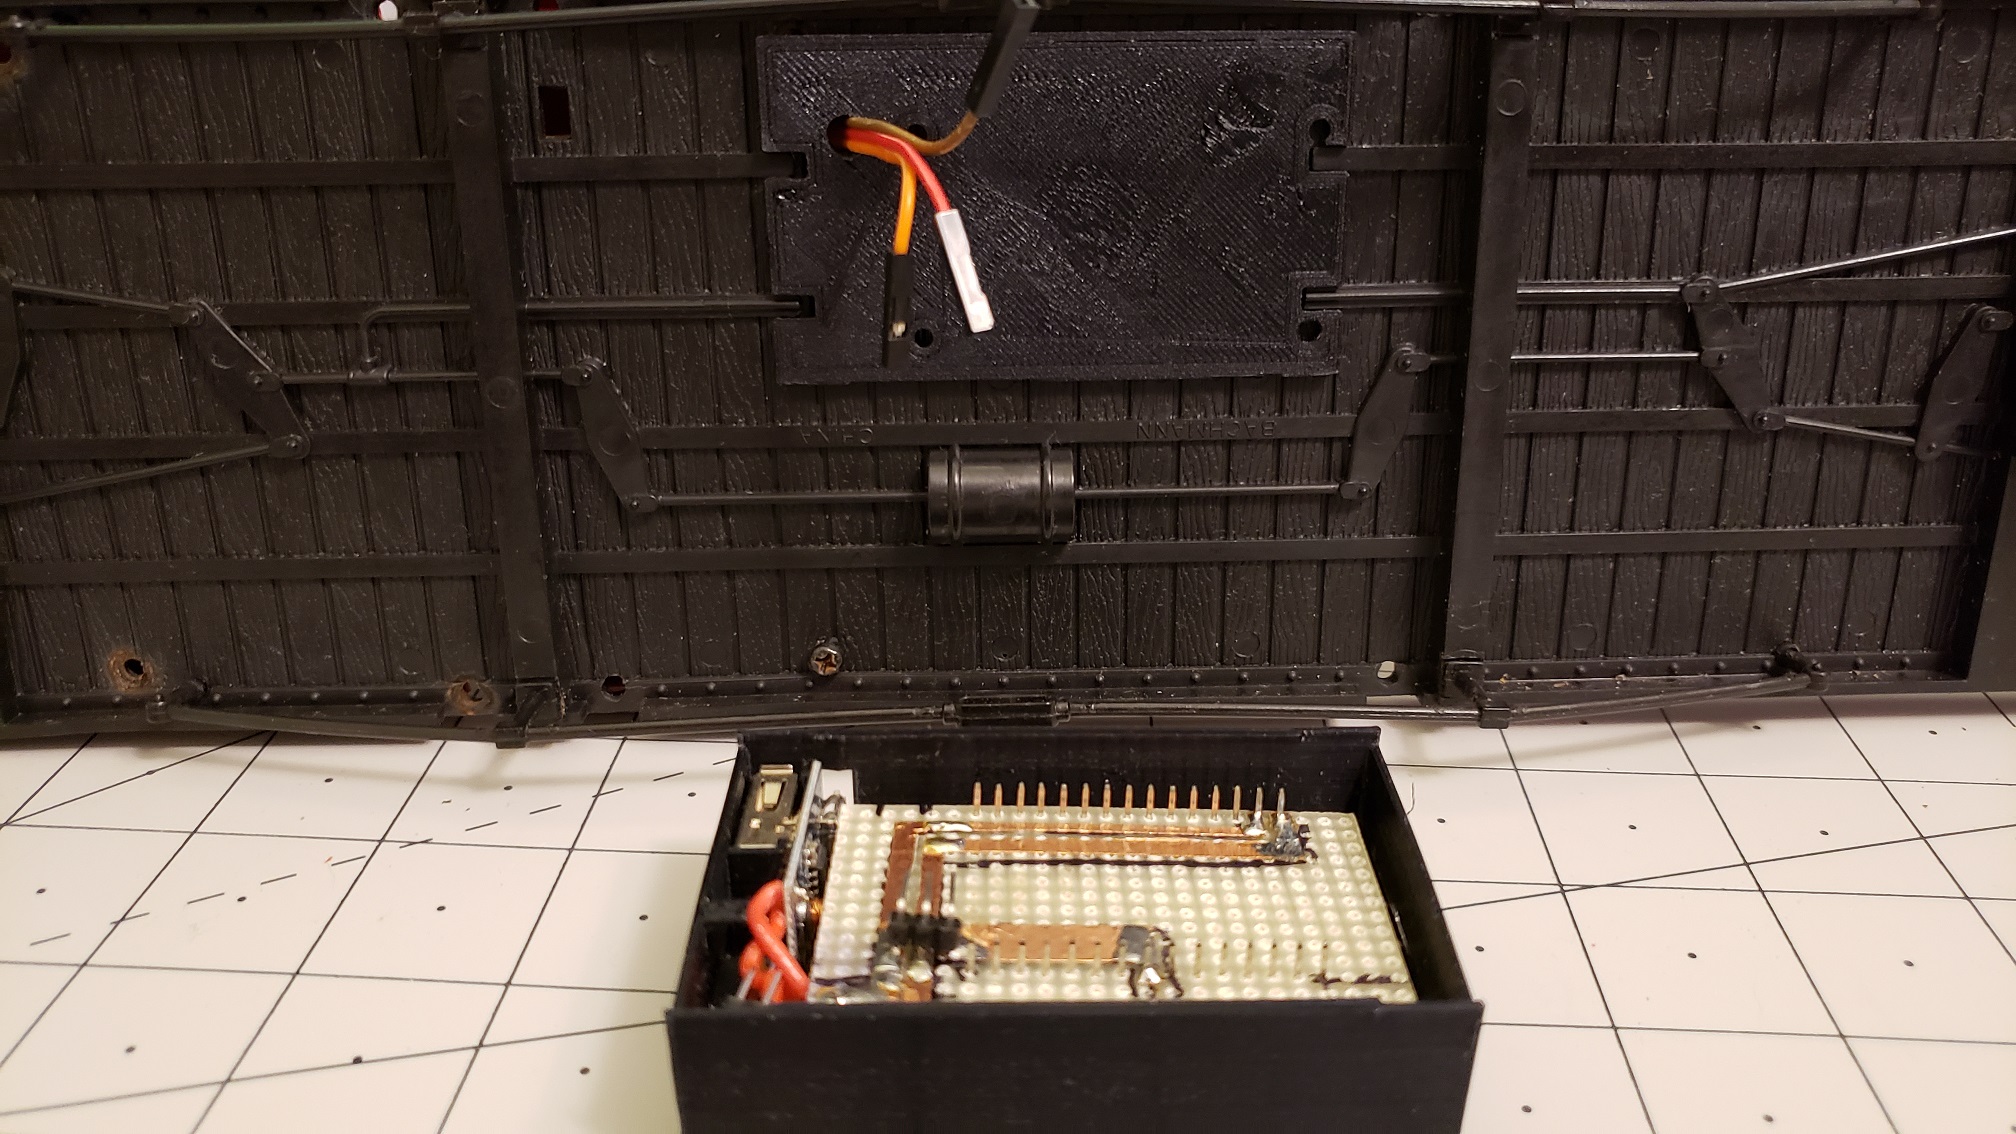
Another improvement was to add a custom "distribution board", using copper tape on vector board for traces. It went through a number of iterations, with the first few requiring rework once the form factor was finalized. Although there are sockets made for these Arduino boards, they are high profile. That is, they are far too tall to fit in the limited space we have inside the battery box.
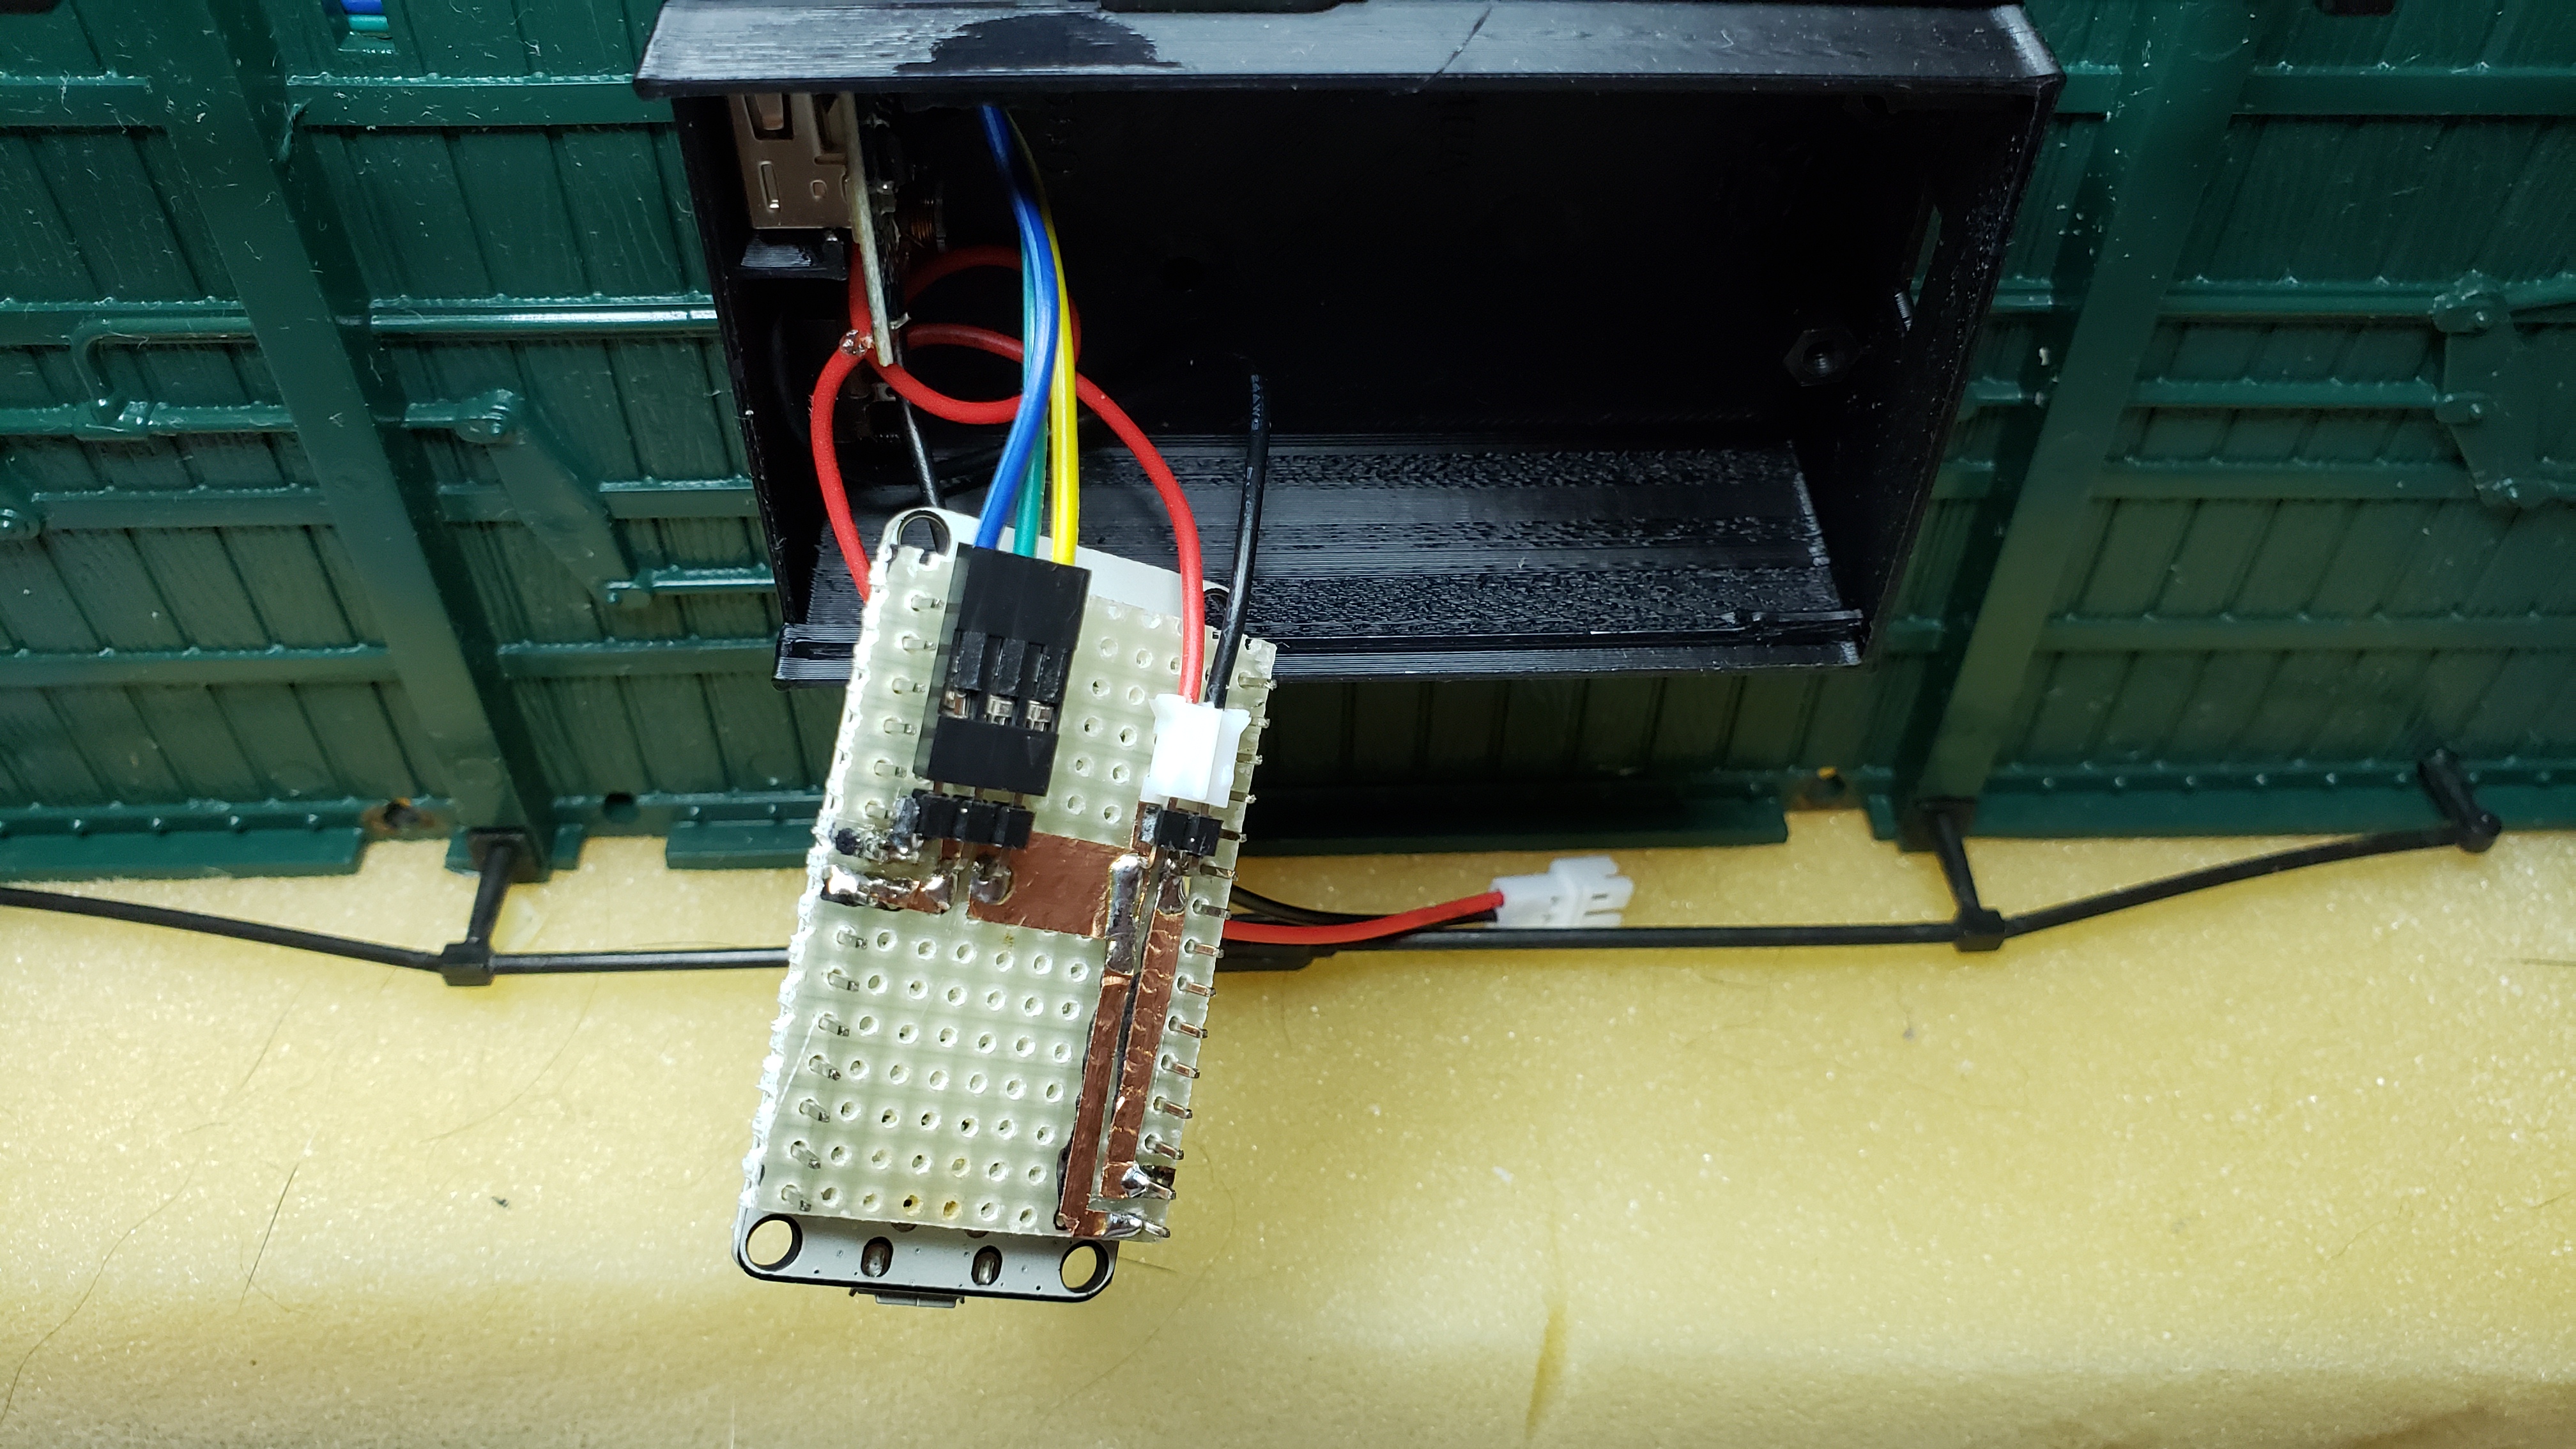
Speaking of battery box, that took more revisions than expected to get it right, but the end result is exactly what we needed. The old design was based on sliding it over the cover that was snapped into the bottom of the car. Unfortunately, it neglected the fact that once the Arduino was mounted to the cover, it was impossible to slide the box over it. While the box would "snap" over the cover, it didn't take much force to slide it off one end or the other, at which point it would fall off.
We modelled the next gen battery box to "mimic" the original. It is a complete box that snaps in place beneath the car. It has a sliding cover that snaps in place to keep everything in place. Like the first gen box, the controller mounts to the next gen box, so the charging and programming access remains the same. It only took four revisions to arrive at the final design. But that's beauty of 3D printing. The next revision is just a few hours away.
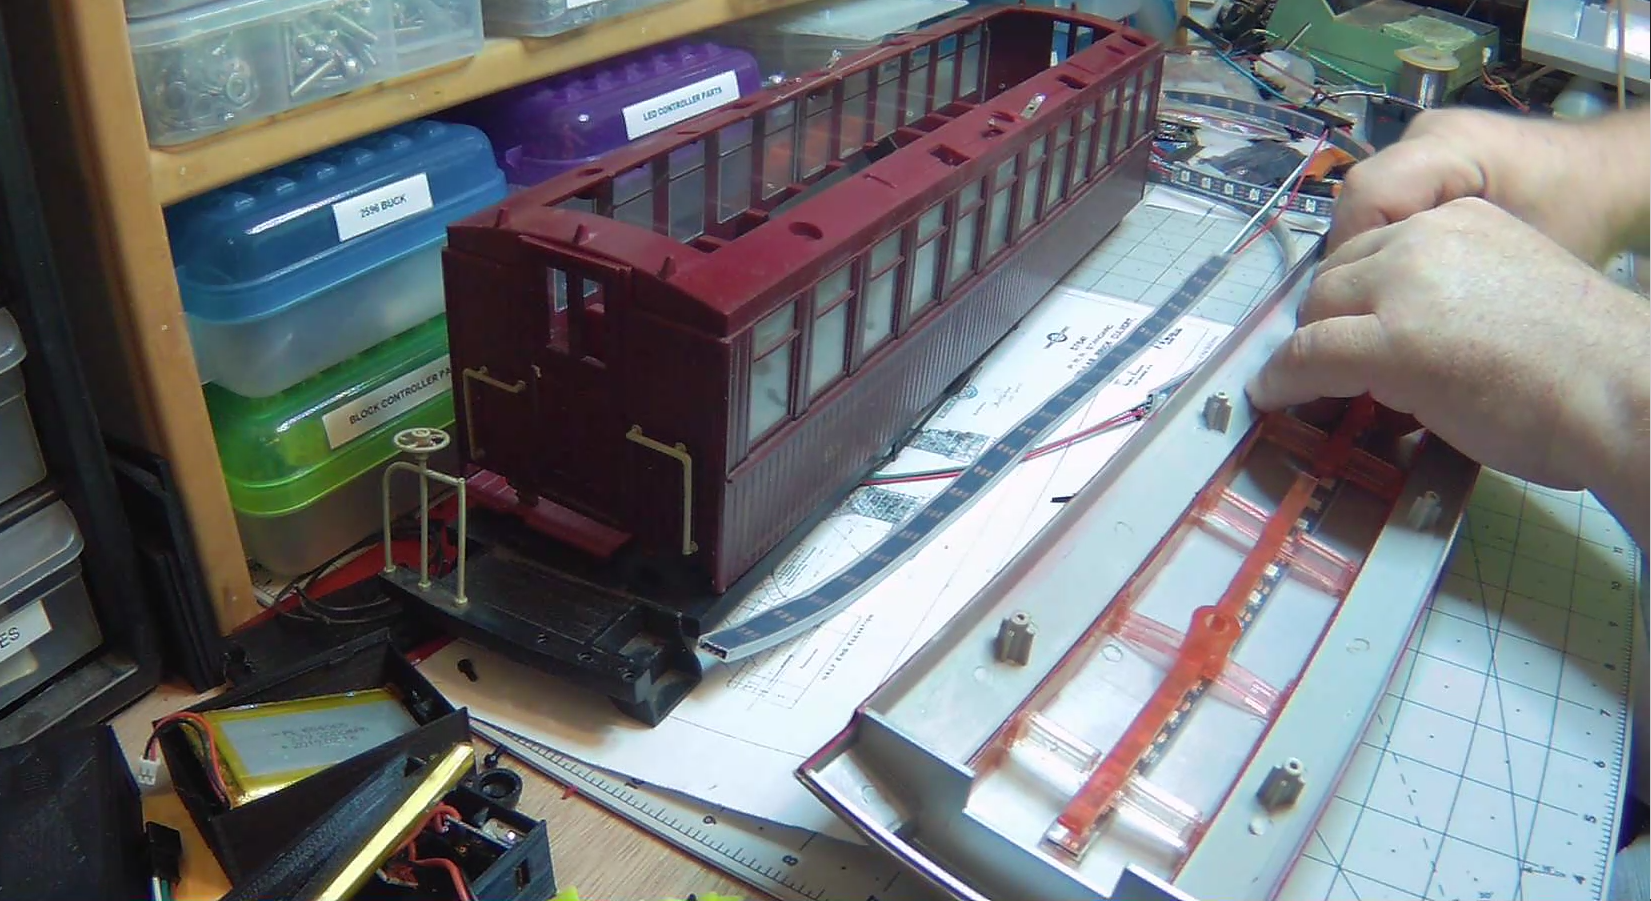
A couple of iterations and we have a viable next gen battery box that will snap in place of the original, fitted with the next gen electronics, and run them around the Barkyard to put them to the test. They now do everything expected of them. Even Flicker! We wanted to simulate lantern flickering, like the ones they would have used for lighting in these old fashioned cars. The only feature missing is per pixel effects. For now...
No more "dragging equipment" failures. We can control each car independently. And we can address each LED independently in each car as well. The overall brightness is adjustable independent of all the other settings too. But even starting out at a very low power, less than a tenth of what these LEDs are capable of, it obvious the the interiors are illuminated. Punch up one of the color effects, like jump, and the interiors glow using just an eighth of the maximum power.
Our next generation controller is installed in a dozen passenger cars already. We upgraded the last three with the Christmas light effect. They all have the Lightning
effect we added for the Halloween Ghost Town. We leveraged the work done for the passenger cars to haunt the downtown, transforming it into the Halloween Ghost Town.
Follow along with the next step in our lighting controller evolution... The Halloween Ghost Town!
See More...
We invite you to enjoy our Passenger Car Lighting series on the Barkyard YouTube channel if you're so inclined. We go into much more detail than we could possibly fit on a
web page. Even our Barkyard Blog posts can't capture all the details the videos do.
View Now...