
A Company House
We started with the downtown marketplace, a set of three story apartment buildings, modelled after some HO kits assembled years ago. We progressed to a railroad company house. All these casting are based on using thin plastic "pattern sheets" as the basis of building the mold. The actual base and any insets are ¾" thick foam insulation.
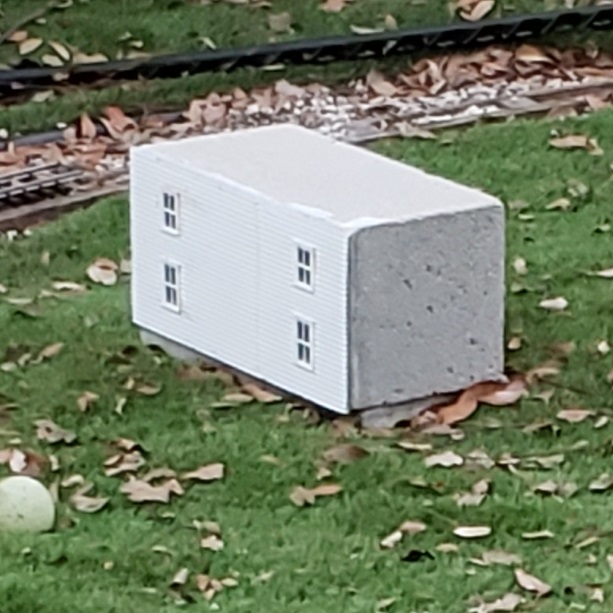
This time it's different. The pattern sheet is lap siding, not bricks, and pattern sheets. The concern here is the seam between the sheets. With nothing to back the seam, will it leave a visible demarcation between the two? Spoilers. It does. For one long wall it may be acceptable to hide it with a power feed conduit down to a power meter box. But not both walls.
The gap in the pattern sheets is definitely noticeable in the casting. It might be possible to fill in and smooth the gap with putty and level it, but it will be tedious and messy. A better option is to have one continuous pattern sheet of the proper length, in our case 16". I seem to remember them being 10" by 12" or so.


Looks like next time we need to use as much of a single sheet as possible. Instead of letting it "stick out" from under the end dam like that, perhaps cover just enough to hold it down and keep it flat? Maybe even line it up with the edge of the windows? Even so, this isn't that bad for a first try.
Also noticing that the pour seeped out from under the dams this time. Was the mix a bit "soupier" than previous castings? Maybe. It definitely seeped through the "cracks" in the pattern sheet where the flat bottom of the foam dams didn't fit the pattern perfectly. Going with soupier since it also leaked where the top dam and the base are both flat.
Another difference is the concrete block is on its side. The openings don't coincide with block features this time, but it still suffers from the drawback of loss of access once the other long wall is attached. Maybe we can work around that with a porch feature or some other reasonable access. The common theme is using concrete block has break even benefit at best.


No matter. The new twist is 3D printed inserts to replace the flat foam insets. Because the lap siding pattern sheet has a serrated surface, the 3D printed inserts have a matching pattern and nest into the surface with no gaps. They'll work just fine for the casting process. While at the drawing board, new window frames are designed and 3D printed to fit.
Our first attempt to create one continuous sheet involves many individual styrene slats of the proper size, stacked in an overlapping fashion, then glued (plastic cemented) together. Originally the slats are held in place by 3D printed templates, also designed to fit the overlapping pattern, and pinned to a sturdy substrate.
This first attempt at a gluing jig supports the slats every 6" to avoid having the styrene cement also adhere them to the template parts. The jig is pinned to Nick's old "Balsa Board", used for constructing balsa wood airplane kits. He lost interest, so I stashed it in case he ever decided to try his hand at it again. Cars are his first, true love though.


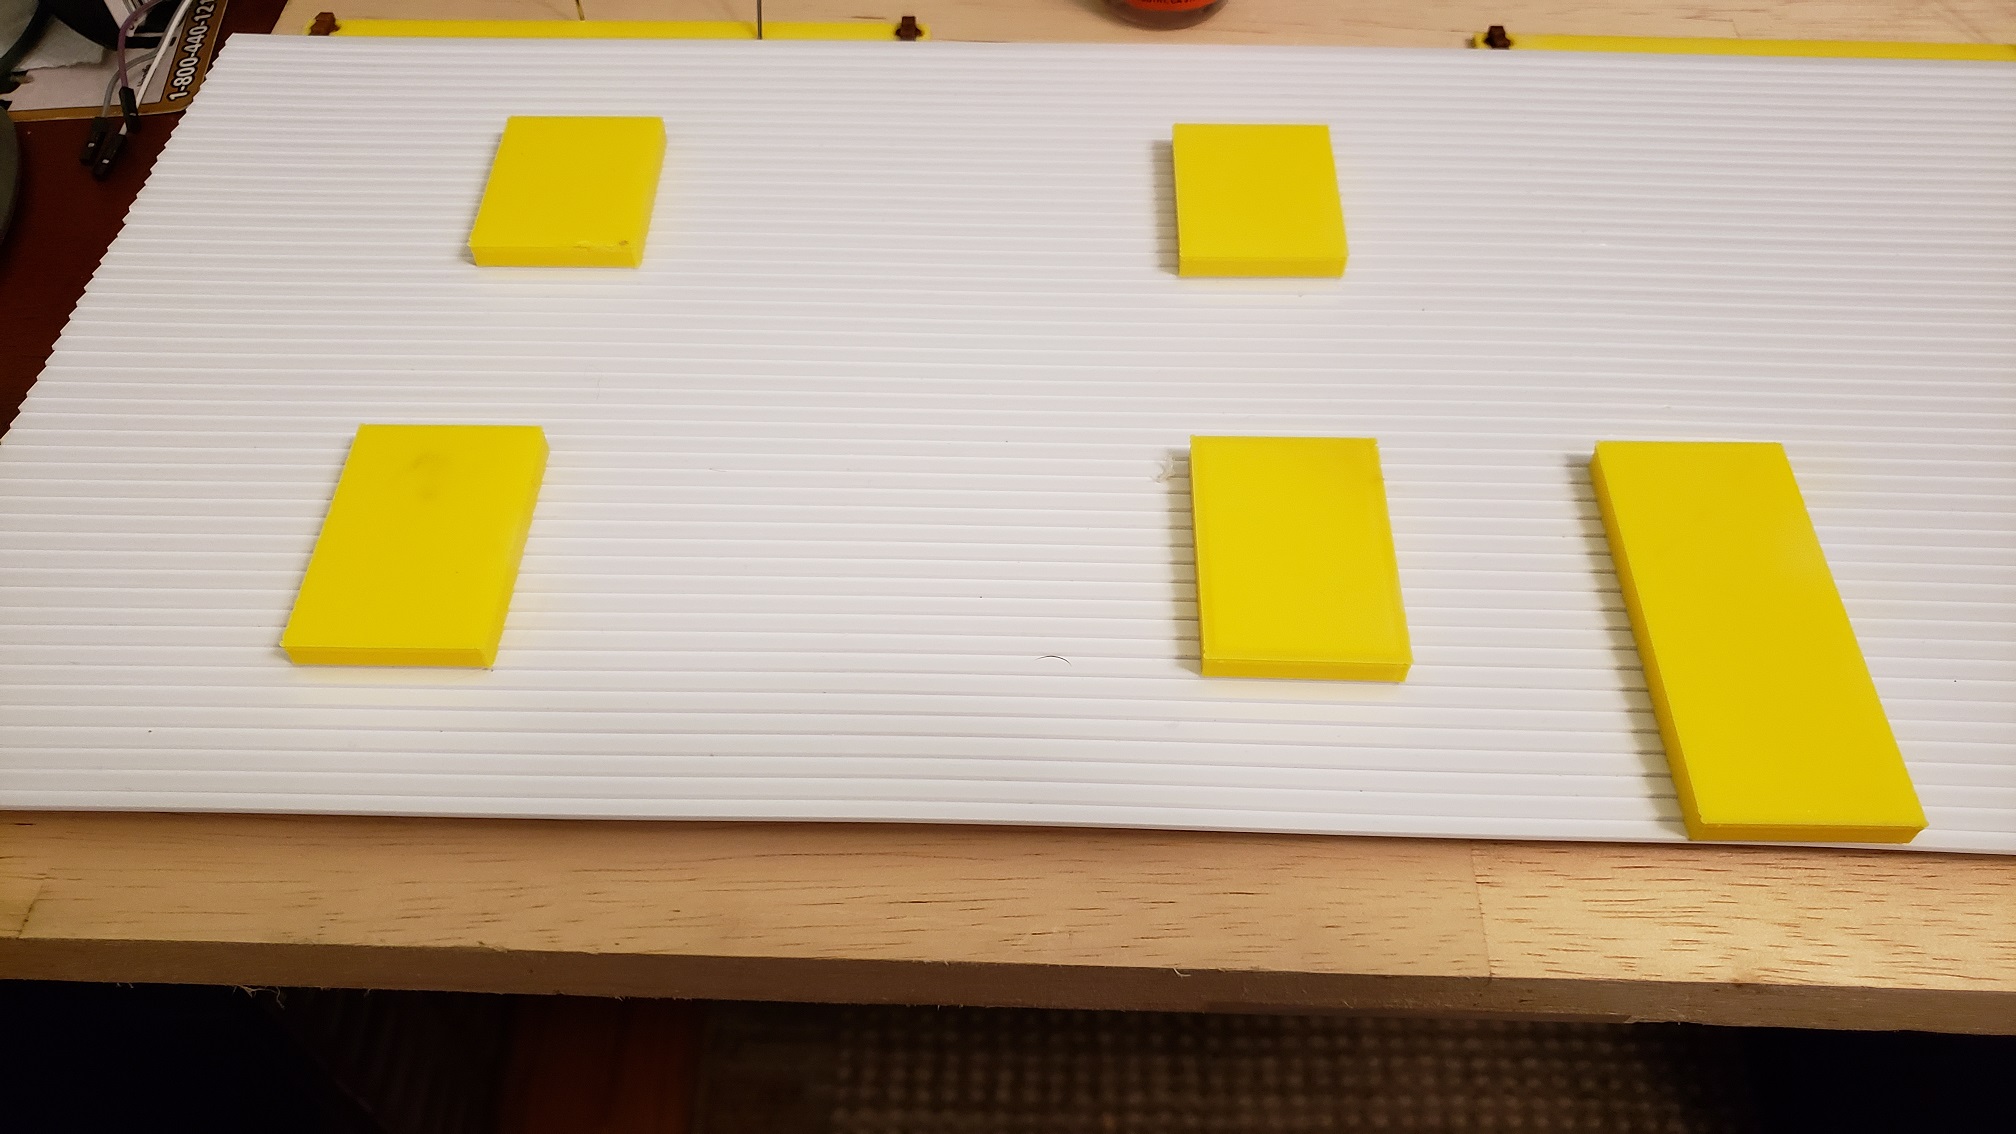
Found out the hard way that not only did that first jig not keep everything aligned for gluing, it didn't provide enough support to keep everything flat and straight either. Just a small section that was glued up as a test was wavy and warped. Worse yet, there were long gaps in the seams between the slats that were not completely bonded, not even connected in some places.
Various refinements to the jig didn't help. About the only way using a jig will work is having one, continuous, and solid pattern the size desired. At the time, our 3D printer wasn't capable of printing anything the size of the pattern sheets we already had. With our new printer we can get 12" square or so, but that's still short of the 16" goal.
If we can print on the diagonal, we can get close to 16" long, but only in narrow sections, say an inch or two wide. These sections could then be cemented together to construct one solid pattern block. Perhaps the two pattern sheets we already have could somehow be cemented into one continuous sheet using two meshing 3D printed "faces" to sandwich everything together.
If we're going to 3D print one solid, continuous anything, we may as well print the entire mold, even if it's in pieces that need cemented together. We've found that WeldOn #3 works well as PLA plastic cement, like Bondene does for styrene. It's a bit pricey, ~$30 for a pint, but it does work. The alternative is to design press or snap fit parts.
It's on the back burner for now. Higher priority tasks await.